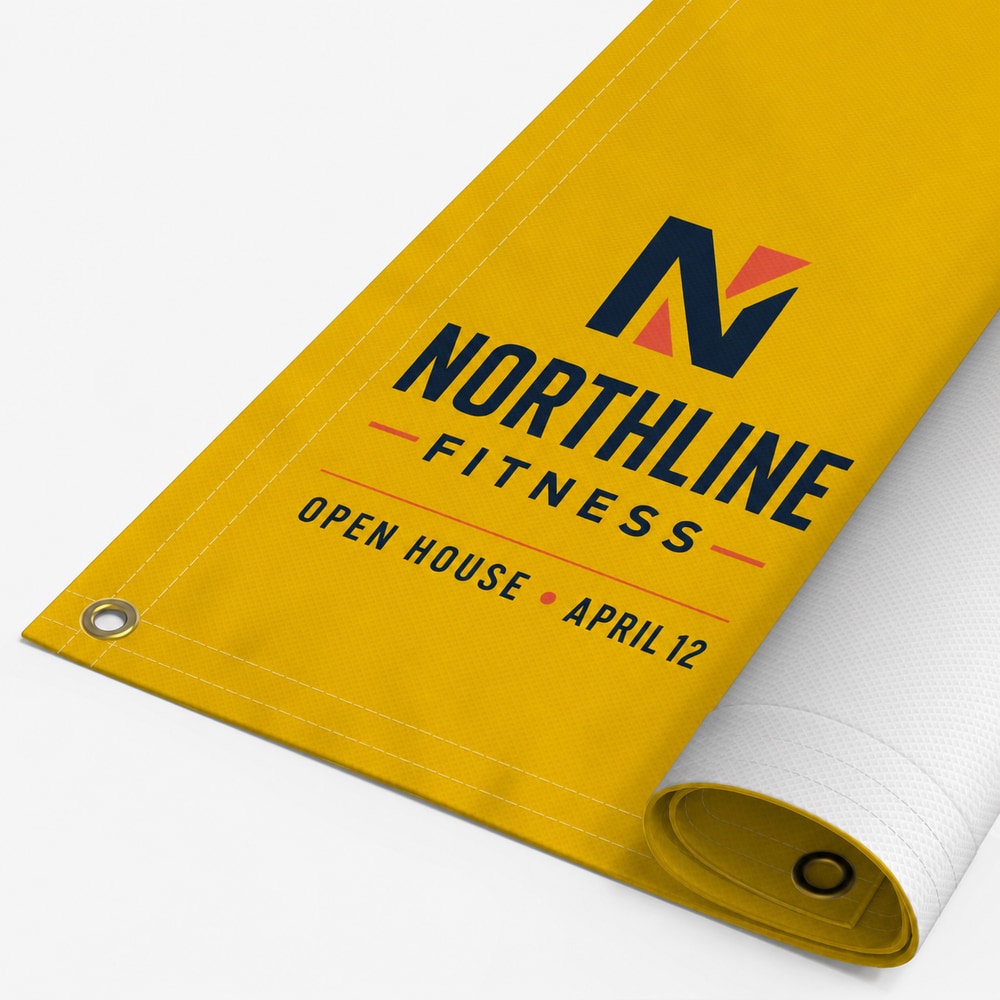
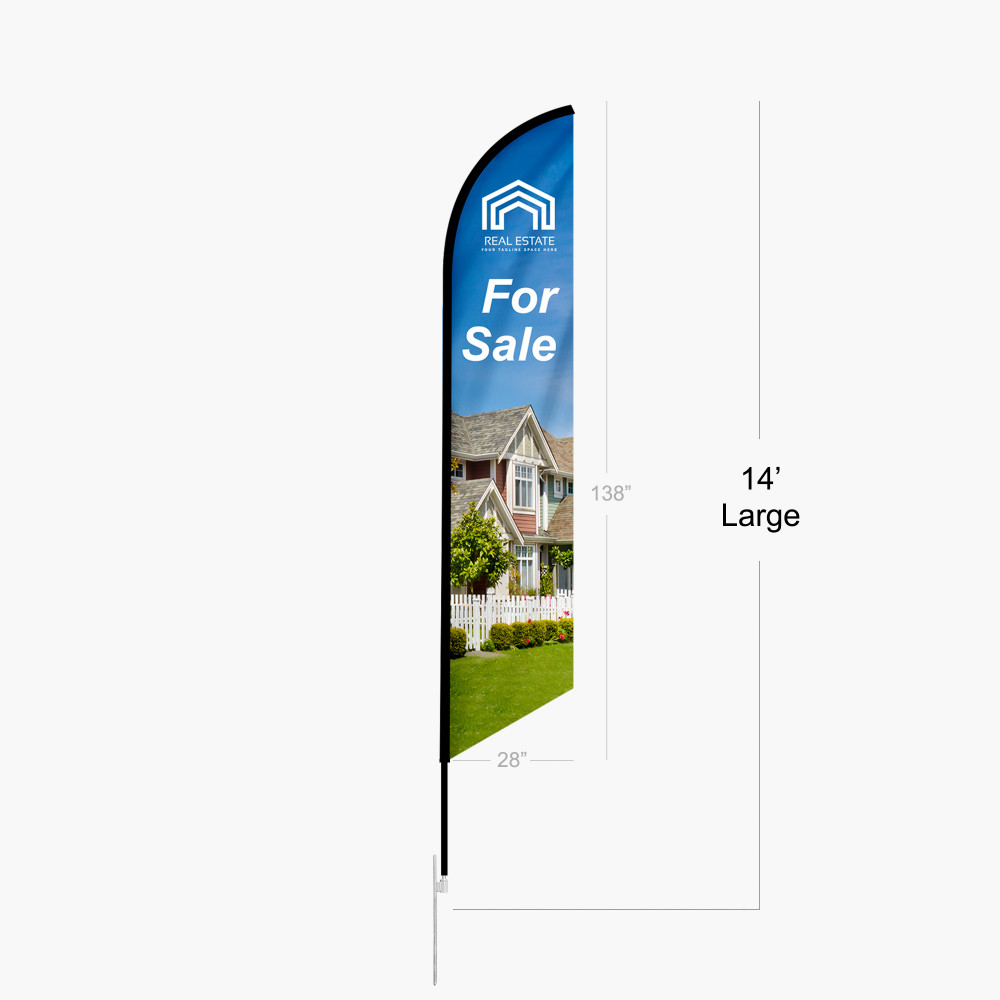
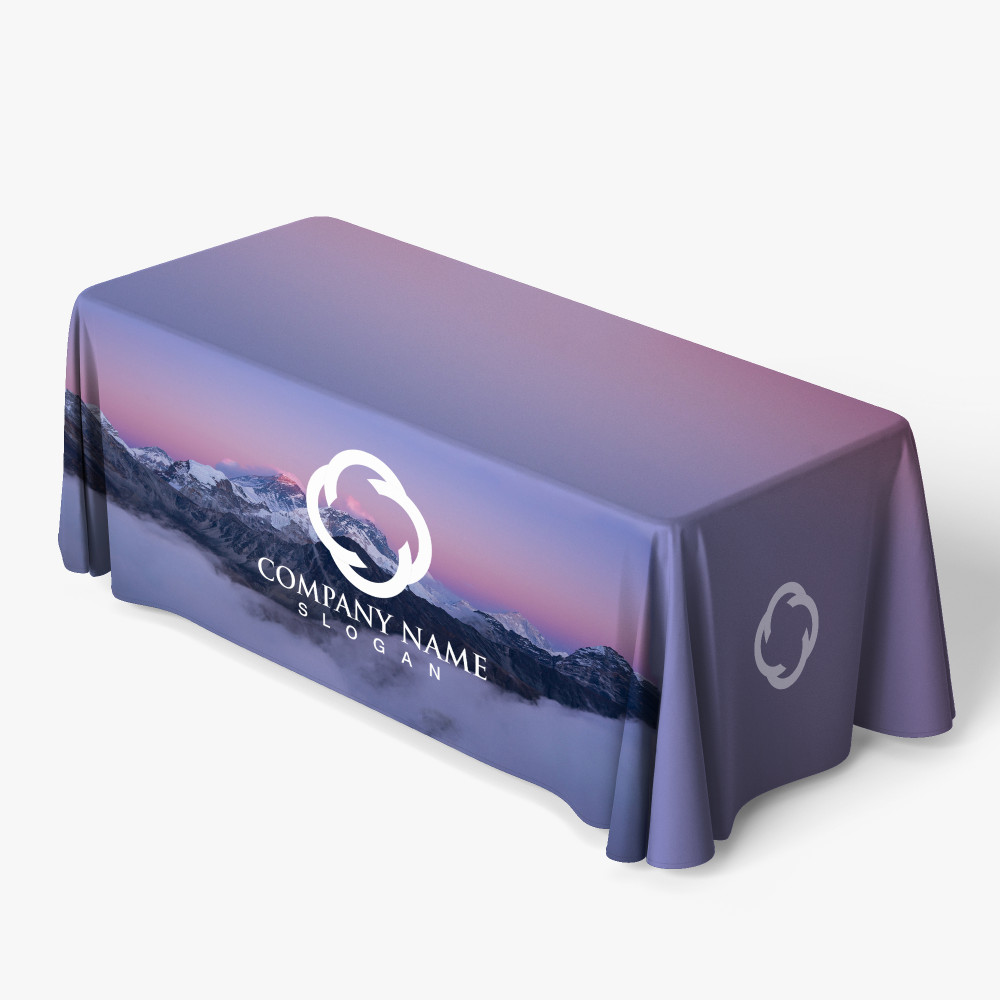
A print-ready file must match the ordered product, not merely look correct on screen. Choose the final size and options first, then use the matching template to confirm artboard proportion, safe areas, finishing clearance, color setup, image quality and front-to-back orientation.
Match the sign to its surface, viewing distance, exposure and permitted footprint.
Build a readable message
Prioritize one action, confirm the critical facts and adapt the layout to the product shape.
Confirm the final configuration
Current product pages show the available size, material, sides, finishing and hardware choices.
Practical planning
Make the choice from real project conditions.
01
Start from the configured product
Size, shape, sides, hems, pockets, frames and seams can change the production file. Download or follow the template for the exact selection, and do not add generic bleed or rotate an artboard unless that product's instructions call for it.
02
Check color, geometry and images
Prepare production color as CMYK where the workflow requires it, keep the artboard in the correct proportion and evaluate raster images at the final output size. A high pixel count in a small source file does not guarantee adequate effective resolution after enlargement.
03
Package every required element
Embed or outline fonts as appropriate, include linked assets, label front and back artwork, and keep critical copy clear of trim and finishing. Multi-panel and shaped displays need the complete matched package and human prepress review.
Review record
Published with accountable sources.
Material and setup claims are checked against current catalog details and the primary references listed here. Exact MaketheSign.com options and prices remain on the linked product pages.
Use the formats listed by the product's upload workflow. PDF or a compatible vector file is often practical, while accepted raster files still need enough effective resolution at the ordered size.
Should I add bleed to every sign file?
No universal bleed should be assumed. Follow the exact product template because shaped graphics, banners, rigid signs and display systems use different trim and finishing rules.
Does an automated check replace artwork proofing?
No. Automated checks can evaluate common file properties, but page mapping, safe margins, finishing clearance, fonts, linked assets, copy and special production details still need final review.
Turn the plan into a production-ready sign.
Choose a current product, configure it for the placement, then upload artwork, design online or request help.